Acrylic Calendar Diy
Acrylic Calendar Diy - Gallery wall ( diy acrylic calendar) week 6: Cordless drill 5/16″ drill bit phillips head bit Be sure to leave it on throughout this entire process to keep it clean and avoid any scratches. You’ll want to start by removing the protective film from one side of your acrylic sheet. Attach vinyl decals and holographic paper to the acryl of the proper size and attach it to the wall where you want. Web materials you’ll need to make a diy acrylic calendar here’s what you’ll need to make this diy acrylic family calendar… acrylic sheet (about 0.080 inches thick) permanent vinyl in the color of your choice 24″ lightgrip cutting mat plastic cutting knife or rotary table hanging hardware (this is the set i used)
6.1k views 1 year ago. You’ll want to start by removing the protective film from one side of your acrylic sheet. Spray paint your mounting hardware. My favorite weekly planner design for years…literally years…i have used this paper weekly planner (below) to run our. Here at abm, we love a good project that not only helps organize our lives, but is also pretty to look at, too!
DIY Acrylic Calendar A Beautiful Mess
This post contains affiliate links where a small commission is received for the sale of products linked at no additional cost to you. This diy acrylic calendar is perfect for beginners. This post was transcribed by a member of the hometalk editorial team from the original hometalktv episode. For each day of the month, i created 35 boxes. I also.
DIY Acrylic Customizable Monthly Calendar in 2020 Diy calendar dry

Tall and about 5 in. Cordless drill 5/16″ drill bit phillips head bit Make your own pottery barn inspired acrylic wall calendar for a third of the price! To access my design just enter your name and email address in the form below. By using some painting pens and my free cut file, you can whip one up in no.
Easy DIY Acrylic Calendar For 25 With The Cricut Explore Air 2

Start off by measuring your lines and marking them on the piece of acrylic with an expo marker. As an amazon associate, i earn from qualifying purchases. Attach vinyl decals and holographic paper to the acryl of the proper size and attach it to the wall where you want. Includes a free cut file and step by step instructions! We’ll.
DIY Acrylic Wall Calendar with a FREE Cricut cut file

My favorite weekly planner design for years…literally years…i have used this paper weekly planner (below) to run our. Plus it includes a free printable 2015 calendar. My biggest lesson learned is to use a good drill with the right drillbit for the standoff mounting hardware holes. Web this diy acrylic calendar is so easy it hardly needs instructions. To access.
Easy DIY Acrylic Calendar For 25 With The Cricut Explore Air 2

It's easy to make and only takes an hour to complete. Web 0:00 / 8:51 • intro how to make an acrylic calendar with cricut jamela payne 30k subscribers subscribe subscribed 4.1k views 1 year ago i needed a large wall calendar for all of my family. Piece i made my squares 4 in. Using a drill bit, set your.
Acrylic Calendar Diy - Spray paint the hardware i purchased hardware and spray painted it gold. Gallery wall ( diy acrylic calendar) week 6: My biggest lesson learned is to use a good drill with the right drillbit for the standoff mounting hardware holes. Web do you want to make your own unique calendar but don't know where to start? 100% free for personal use only. Cordless drill 5/16″ drill bit phillips head bit
This allowed me to still have 6 inches at the top for my days of the week and months and 6 inches at the bottom for a notes sections. This post was transcribed by a member of the hometalk editorial team from the original hometalktv episode. Web learn how to make a diy acrylic calendar with your cricut machine! Spray paint your mounting hardware. Cordless drill 5/16″ drill bit phillips head bit
Floor Covering And Window Treatment (On Hold Due To Personal Issues) Week 4:
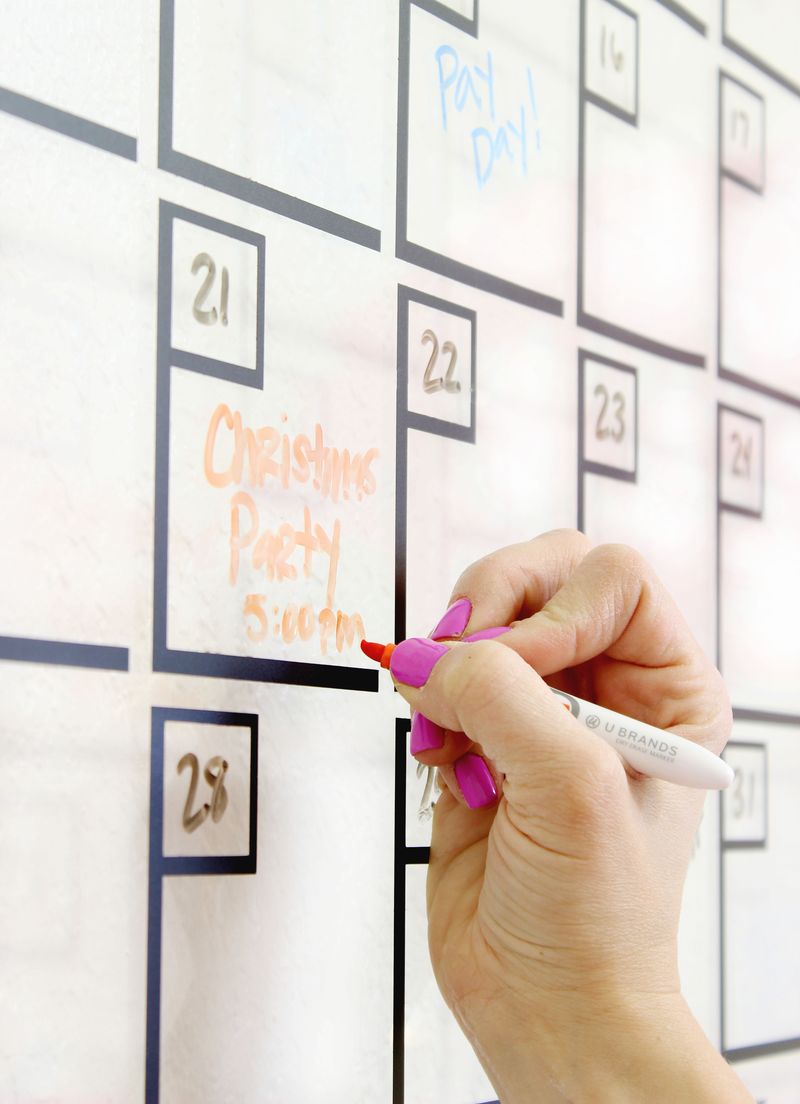
This allowed me to still have 6 inches at the top for my days of the week and months and 6 inches at the bottom for a notes sections. Web materials you’ll need to make a diy acrylic calendar here’s what you’ll need to make this diy acrylic family calendar… acrylic sheet (about 0.080 inches thick) permanent vinyl in the color of your choice 24″ lightgrip cutting mat plastic cutting knife or rotary table hanging hardware (this is the set i used) Circle important dates or write notes with dry erase markers for. To access my design just enter your name and email address in the form below.
Spray Paint Your Mounting Hardware.
100% free for personal use only. I also applied transfer paper. Diy, home tour save hundreds by making your own custom acrylic calendar! Next week we return from vacation on tuesday night, so getting a post ready for thursday will.
As An Amazon Associate, I Earn From Qualifying Purchases.
Web blog diy acrylic calendar october 03, 2018 this calendar and i have been through quite a few ups and downs together. Allow to dry while you work on the rest of the project. Cordless drill 5/16″ drill bit phillips head bit Plus it includes a free printable 2015 calendar.
Tape Plexiglass Corners You May Have Noticed That Your Acrylic Sheet Came With A Frosted Protective Covering On Each Side.
Using washi or painter’s tape, tape off a 12×22″ area at the bottom of your calendar. I also included how to install the gold standoff. It's easy to make and only takes an hour to complete. We’ll send an svg and png file straight to your inbox!